
In Part 1, I walked through the procedure for installing vCenter Operations Manager. In Part 2, I will walk through initial setup configuration steps to allow full integration with your vSphere environment.
- Open the console for the UI VM within the vC Ops vApp. You will see a similar screen as this. Note the IP address is the one that was defined when you installed vC Ops. This will be the IP address used to configure the admin settings in the next step.

- Open the vCenter Operations Manager Administration web interface. This can be accomplished using one of the following two methods:

- Click on the link within the Getting Started tab of the vCenter Operations page of the vSphere Web Client. Clicking on “Open vCenter Operations Manager” for the first time will take you to the Admin interface.
 – OR –
 - Point your browser to https://{address of UI VM}/admin.

3. Accept any security exceptions.
4. Login using the default credentials: username: admin, password: admin.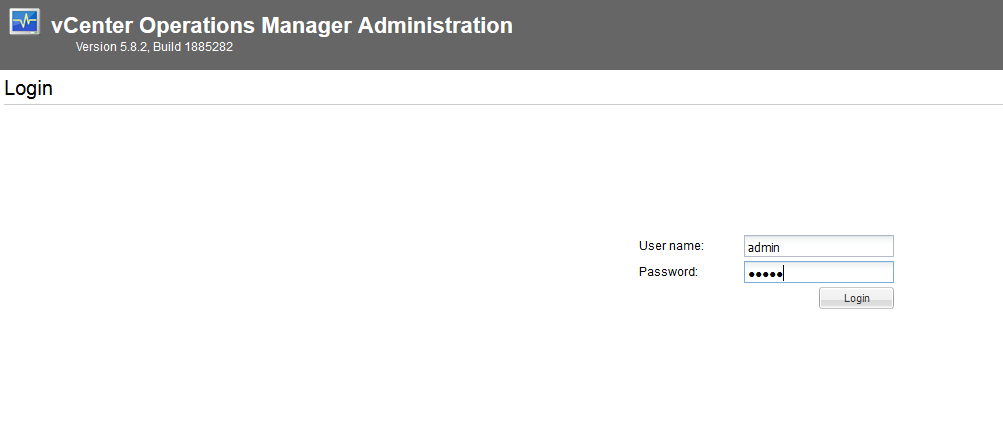
5. Once you successfully log in, the Initial Setup Wizard will launch. Type in the IP address or FQDN of the vCenter Server that’s hosting the vApp. Then type in the credentials for an account that has administrative access to vCenter. Make sure the Analytics VM is the correct IP address. Click Next.
The virtual appliance will update details for a few moments.
6. Click Yes to trust the server if prompted for a security alert.
7. Change the default passwords. Remember, for the admin account, the current password is “admin”. For the root account, the current password is “vmware”. The admin account is used for the admin interface while the root account is used for command line use on the vC Ops virtual appliance console. Note the strong password requirements. Click Next. It might take a while to change the root account password.
8. Type in the required information for the vCenter access. The registration user is a user account that ideally has administrative access to vCenter. Click Next.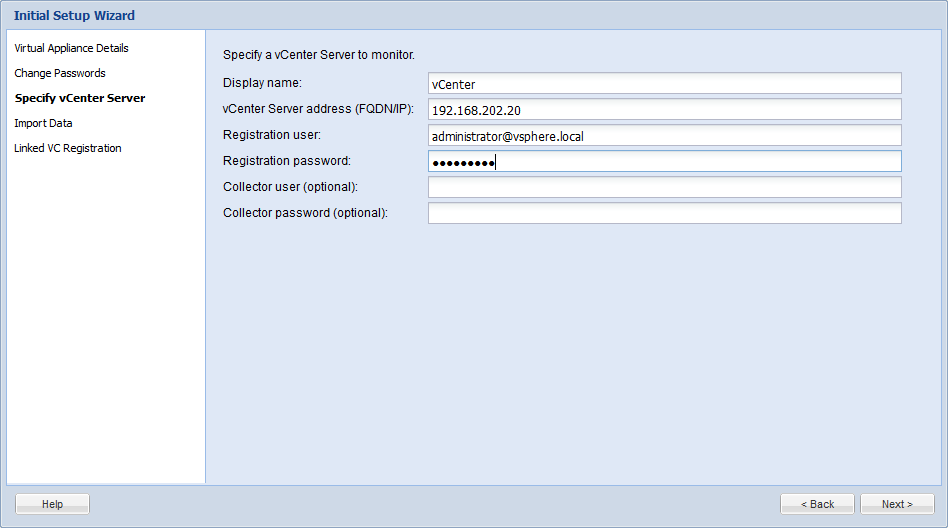
9. This will validate the vCenter access settings and if successful, advance to the next screen. Click Next.
10. It will also check for any other vCenter servers linked to this instance of vCenter. Click Next.
11. Click Finish to register the vCenter Server instance. This could take a few minutes.
12. When the registration is completed successfully, you will see the following screen. At this point, vCOps is successfully configured.
13. You can now navigate to the web address of the vC Ops UI: https://{address of UI VM}/vcops-vsphere. Or you can click on the same link within the Web Client, “Open vCenter Operations Manager”.
14. Login with the admin credentials you supplied earlier.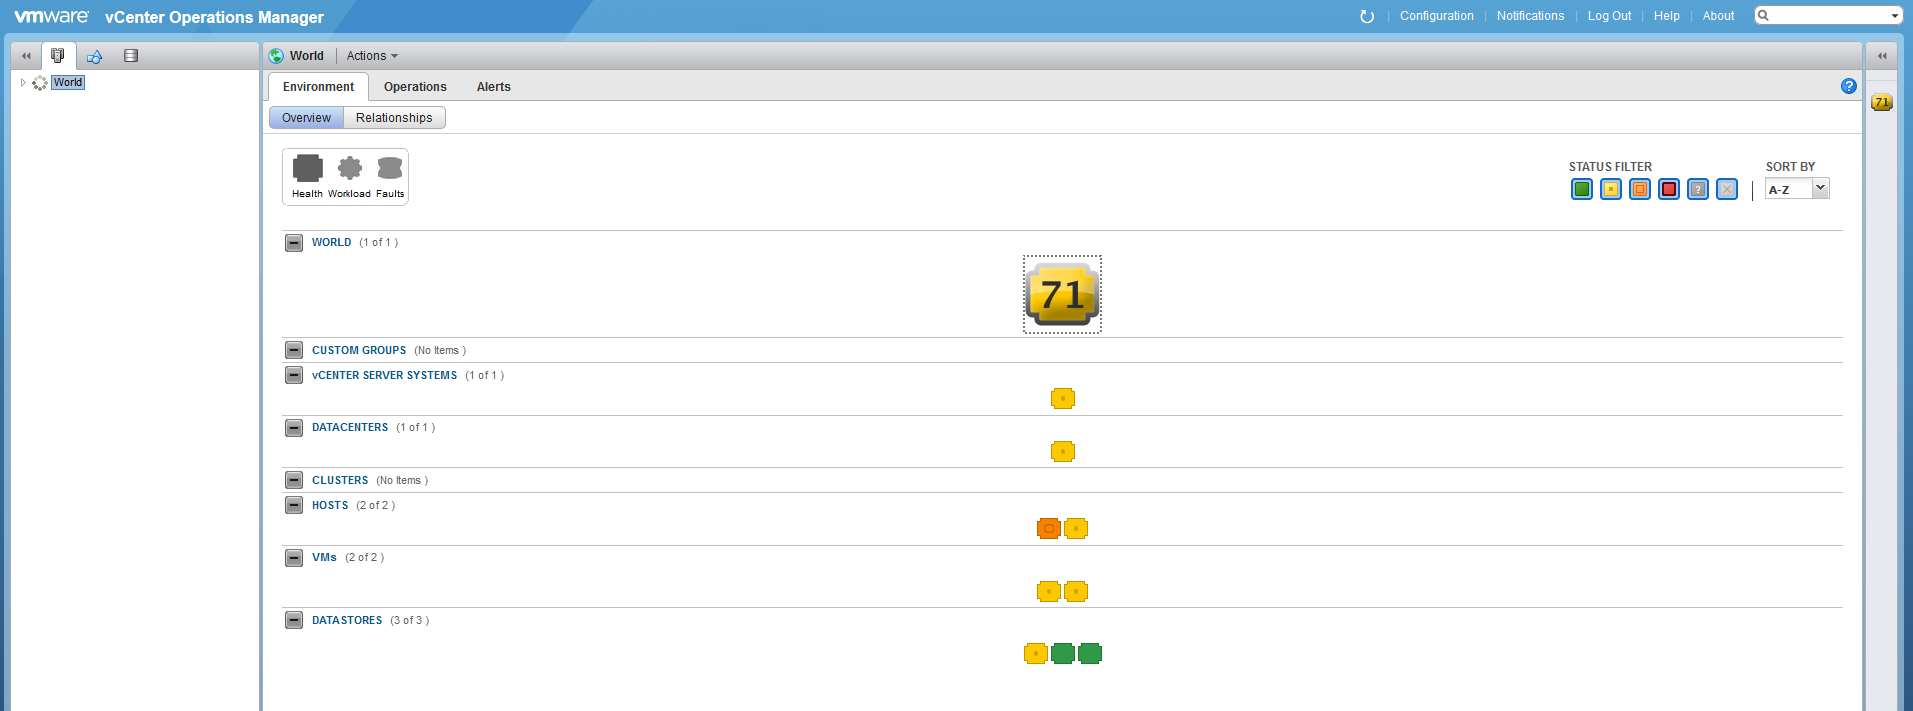
If you’re like me and trying to build this out in a small lab (ie, a laptop!), then you might get some frightening numbers on initial launch of the application. Not to fret. These numbers will likely stabilize as vC Ops learns the environment and determines what is considered “normal” range.
OK, vC Ops is now up and running. Start exploring the dashboards, charts, alerts, badges, etc. It is a fun product to explore since there is so much packed into this product. Next time I will discuss the major badges.
